DIY Macrame Planter Holder

Hey friends! In this period of self isolation it has become very essential to be engaged in order to stay at home. So, here’s another home decoration blog. I have a lot of plants in my apartment (as shared in my last blog) and they look more beautiful when hung in a macrame planter holders. So, in this blog I will be sharing about how to make one.

SUPPLIES NEEDED:

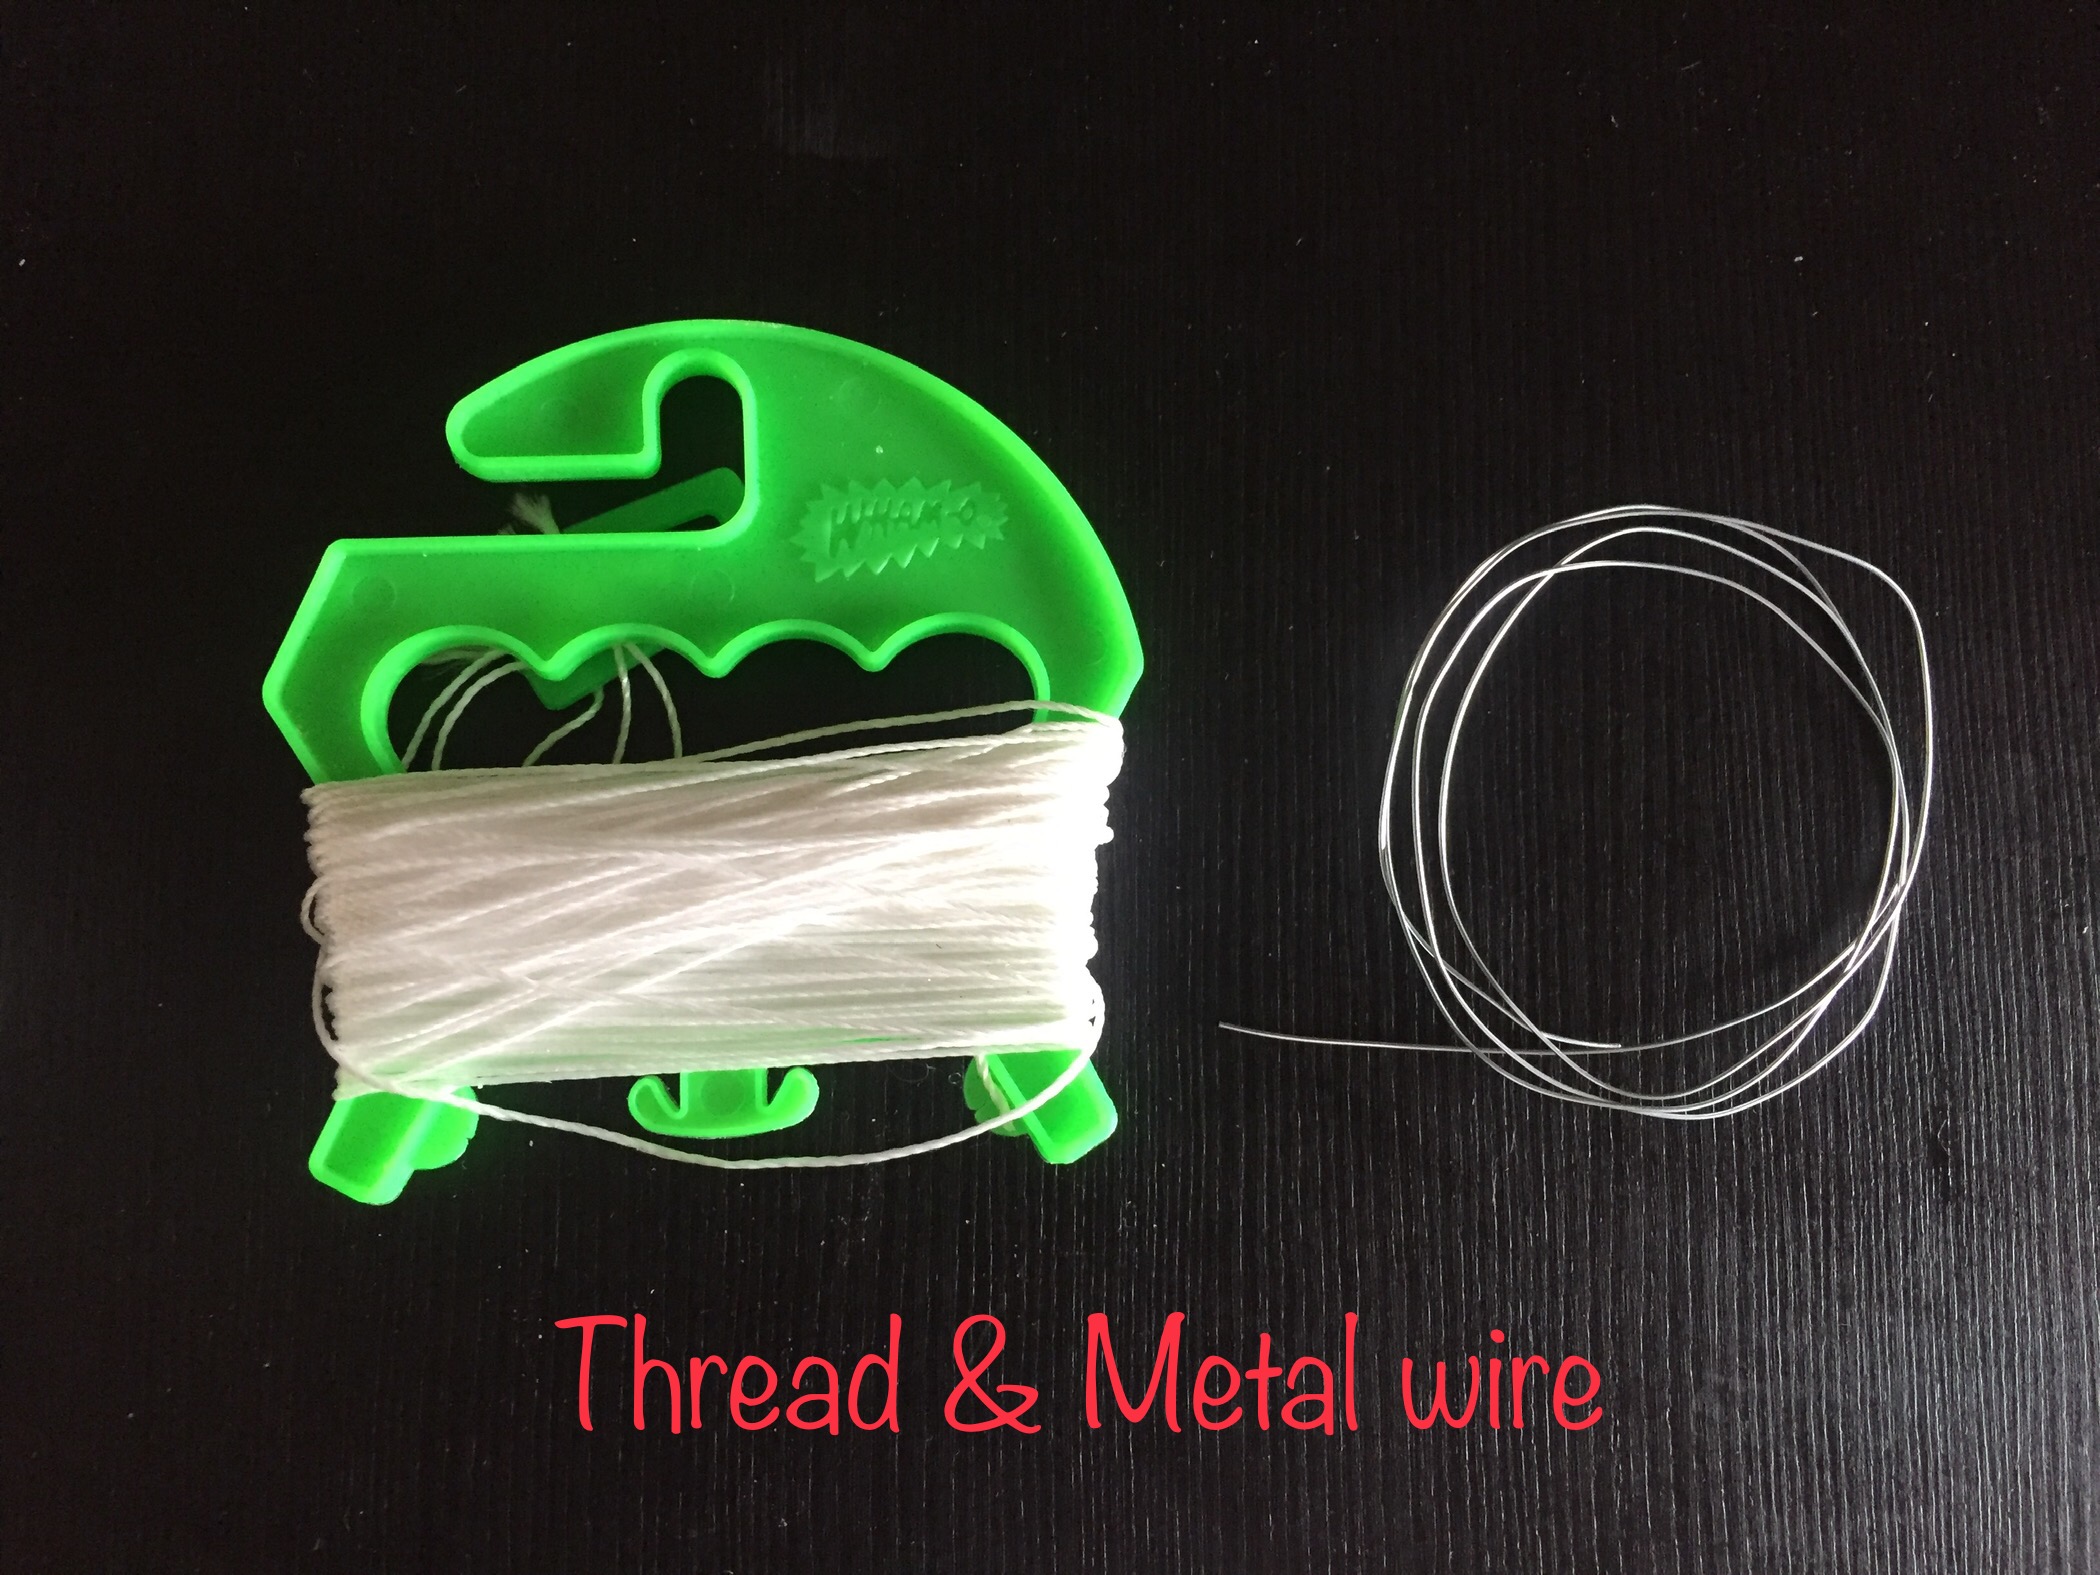
  • Jute ropes/ threads of your choice (thread should be durable and could be tied, avoid plastic)
  • Scissor
  • Colorful beads
  • Plant pot
  • A key ring

Step 1: Cut jute threads approx. ten-twelve inches in length and twelve in count.

Step 2: Make a knot at one end leaving an inch from one end.

Step 3: Separate all the threads in pairs. There will be total of six pairs. Make a knot at all the pairs towards the bigger knot.

Step 4: Take a single thread from adjacent pairs and tie them. For the threads at the extreme ends- tie them together. Insert a bead on the knots.

Step 5: Place your planter at the centre of the biggest knot and continue tying knots taking threads from adjacent pairs and placing beads on them.

Step 6: Continue tying threads from adjacent pairs if you have a bigger pot. Take all the threads towards the other end and tie a big knot. Voila! your macrame planter hanger is ready.

Step 7: Tie a ring or a keychain at the end and use it to hang it.

You can use them to hang planters both indoors as well as outdoors, they look beautiful and most of the supplies are available easily. Hope you liked it and will try making one.

Don’t forget to share your DIY macrame planter holders with me. 😀

DIY Wall Tassel

So after writing about my travel blogs here I am to share another passion of mine. ~Home Decoration ~DIYs

Who does not want to look his/ her house beautiful! And what can be a more apt way to decorating your house with DIYs!

This a very easy DIY and it takes only one to one and a half days to make it. Also, all the supplies are available easily in nearby stores and backyards.

SUPPLIES NEEDED:

  1. Pinecones (bigger ones)
  2. Acrylic colors
  3. Paint brush
  4. Thread
  5. Metal wire
  6. Beads
  7. Newspaper
  8. Glue
  9. Scissor

Step 1: Color your pinecones with different bright colors and let them dry overnight as shown below.

Pinecones (after coloring)

Step 2: Roll a newspaper from its edge to form a stick of desired length you want. Paste it using glue and color it using a dark color like brown or maroon. Allow it to dry overnight.

Newspaper Stick (bottom – before coloring)

Step 3: Tie a colorful bead towards the end of each pinecone using metal wires as shown below. PS: Metal wires are very strong and stays for a longer time.

Bead tied to colored pinecone using metal wire

Step 4: For each pinecone tie a colorful bead using metal wire to the paper stick that we made as shown below.

Bead tied to newspaper stick using metal wire

Step 5: Use threads of different lengths and tie the two beads – one at the pinecone and another at the paper stick.

The pinecone’s bead tied to the paper stick’s bead using a thread

Tada…. your Wall Tassel is ready. Stick is to your wall or above doors and windows using a double sided tape. You can also hang it using a thread (tying thread to both ends of the paper stick and then hanging it to the wall).

Hope my DIY inspired you to make one on your own. Don’t forget to share your DIYs with me.