This quarantine period has been a big hit for most of us. Staying indoors without physically meeting friends and family isn’t easy.
Hence at this time it has become more important for us to look for or develop hobbies for self sustenance. Before quarantine a lot of friends who would visit me in my apartment would appreciate my apartment decoration skills at a low budget. In fact we would also take inspiration from each other and share our leftover craft materials for others to try and learn. No-one knows how and when who could use them better! So, below are the list of ideas from my apartment:
IDEA 1: Hanging pots with fake plants. Use glass globe, fake plants and jute rope.
Description: All the products have been bought from Dollar Tree and it total these two decorative pieces cost me 5$. For the first one I put the fake plant inside the glass globe and hanged it using a rope near a window. It looks beautiful and real too.
For the second piece I inserted fake plant in glass bowl and hanged it using a macrame planter holder which I made earlier (check my previous blog for making one).
IDEA 2: A dreamcatcher next to a beautiful frame. Use a frame and a dreamcatcher.
Description: I bought that beautiful frame from a garage sale for 2$ and dreamcatcher from my country India. However both of them are available in DollarTree.

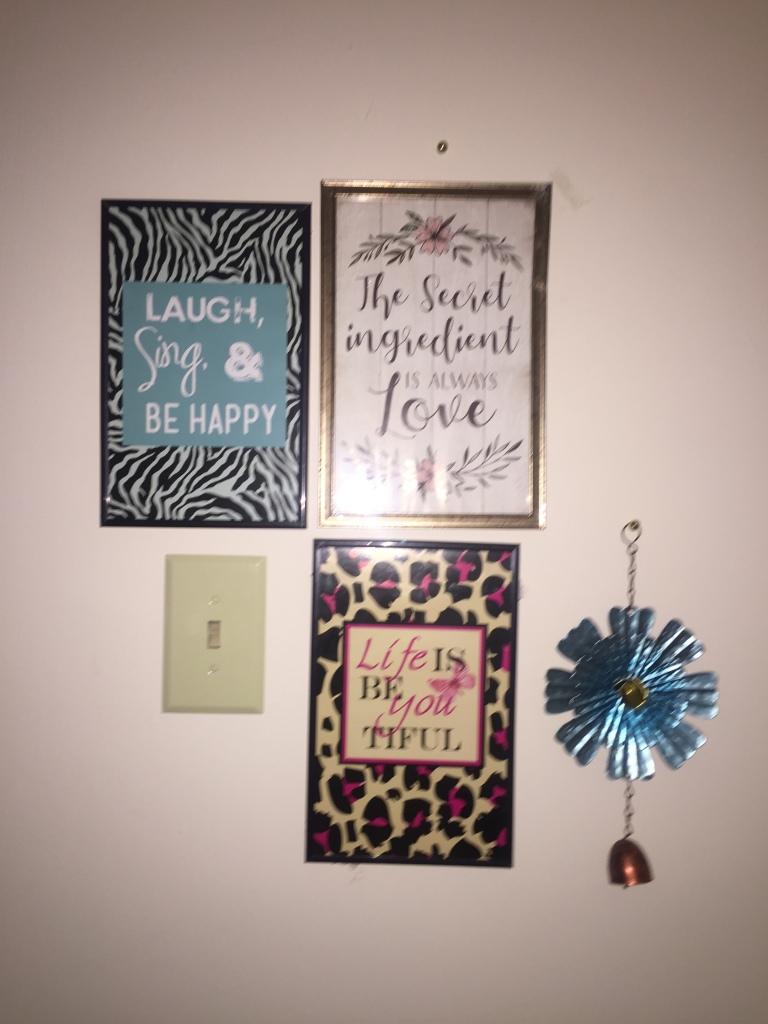
IDEA 3: Picture frames and a flower bell. Use any random number of photo frames and a flower with bell or any other decorative piece.
Description: All the frames and flower with bell are from DollarTree. Try to be creative and stick it in any corner of the house. You may also include mirrors if you like.

ITEM 4: A collection of canvases near your sofa or reading couch.
Description: All the canvases are from DollarTree except the centre one with a colorful leaf which is from Walmart clearance section. Hang/stick all of your canvases above your sofa or study couch where you spend most of your time in your apartment. It makes your spaces a little brighter.

IDEA 5: Decorate corner tables with flower vases and fake flowers.
Description: In my apartment things like hairpins, lotions, comb, water bottles, charging wires that I use daily remain lying on the floor. Set up small tables in the corners of wall and next to your furnitures like sofas, chairs, couches. Keep your things on the tables with flower vases and fake flowers. The table which I have is from IKEA and I bought it in a set of two for 25$.

IDEA 6: Decorate your front door with key hanger and garden bell from inside.
Description: Key hanger and garden bell hanger or any other decorative hangers. The key hanger is from a handicraft fair in from India and the frog bell is from DollarTree.

IDEA 7: Do some art and craft. This below work I saw in Pinterest and decided to recreate it for my apartment.
Description: For this I bought some colored chart papers, glue and scissors from DollarTree.

IDEA 8: Use LED string lights on your doors and windows. It looks very beautiful during night time.
Description: These lights were gifted to me by my sister and I decided to stick it on my patio doors.

IDEA 9: Use plants inside your apartment to give you some fresh air. What can be more better than a snake plant!
Description: Select plants wisely. I have made a lot of mistakes while selecting plants as they did not survive in my apartment due to light conditions. If you are a starter start with plants like Pothos, Succulents. You can also check my previous blog which was on the list of easy indoor plants. The yellow pinwheel which is on my snake plant pot is from DollarTree also are the planter pots which were buckets initially until I made drainage holes in the bottom.
IDEA 10: Make a toy collection display.
Description: I personally like collecting miniature cars, planes and toys. And hence I put them on display for everyone to see. Some of them are from DollarTree other from places where I travelled.
IDEA 11: Decorate your kitchen window using DIY stuff, frames, plants and baking gloves.
Description: My kitchen has a beautiful window next to burners. So, I hanged a DIY which I created using pinecones (listed in my previous blog) and some random frames which I bought from thrift stores for a Dollar each and two baking gloves. You can also put some plants if you like.
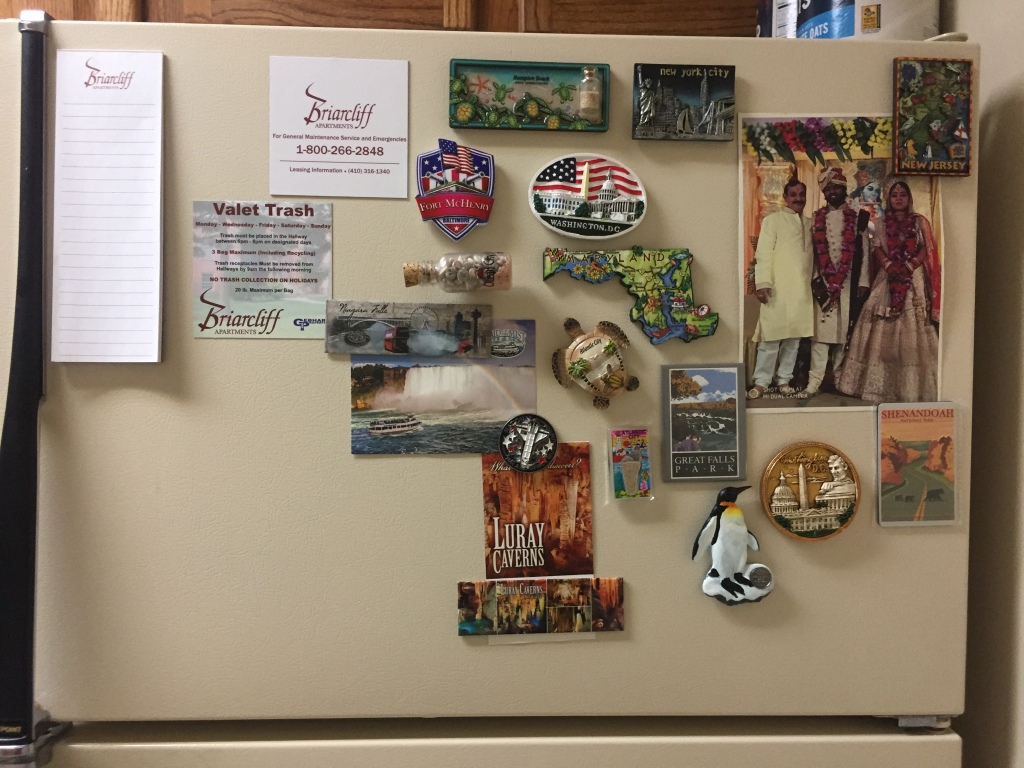
IDEA 12: Decorate our front of refrigerator with magnets and photo frames.
Description: Every day at least once a day we all open our refrigerator. Why not decorate it with magnets from places you have traveled and photos to relive your past. Don’t forget to stick your notepad for writing list of items you need to buy next time you go for grocery shopping.

IDEA 13: If you or your kid loves painting hang them at places you see are too white.
Description: I know this painting is not so great but my sister painted it and I decided it to stick somewhere which is too white and is not at all attractive.

PS: If you took inspiration or liked any of my ideas, don’t forget to share your thoughts.


